Ethereum Wallet Guide
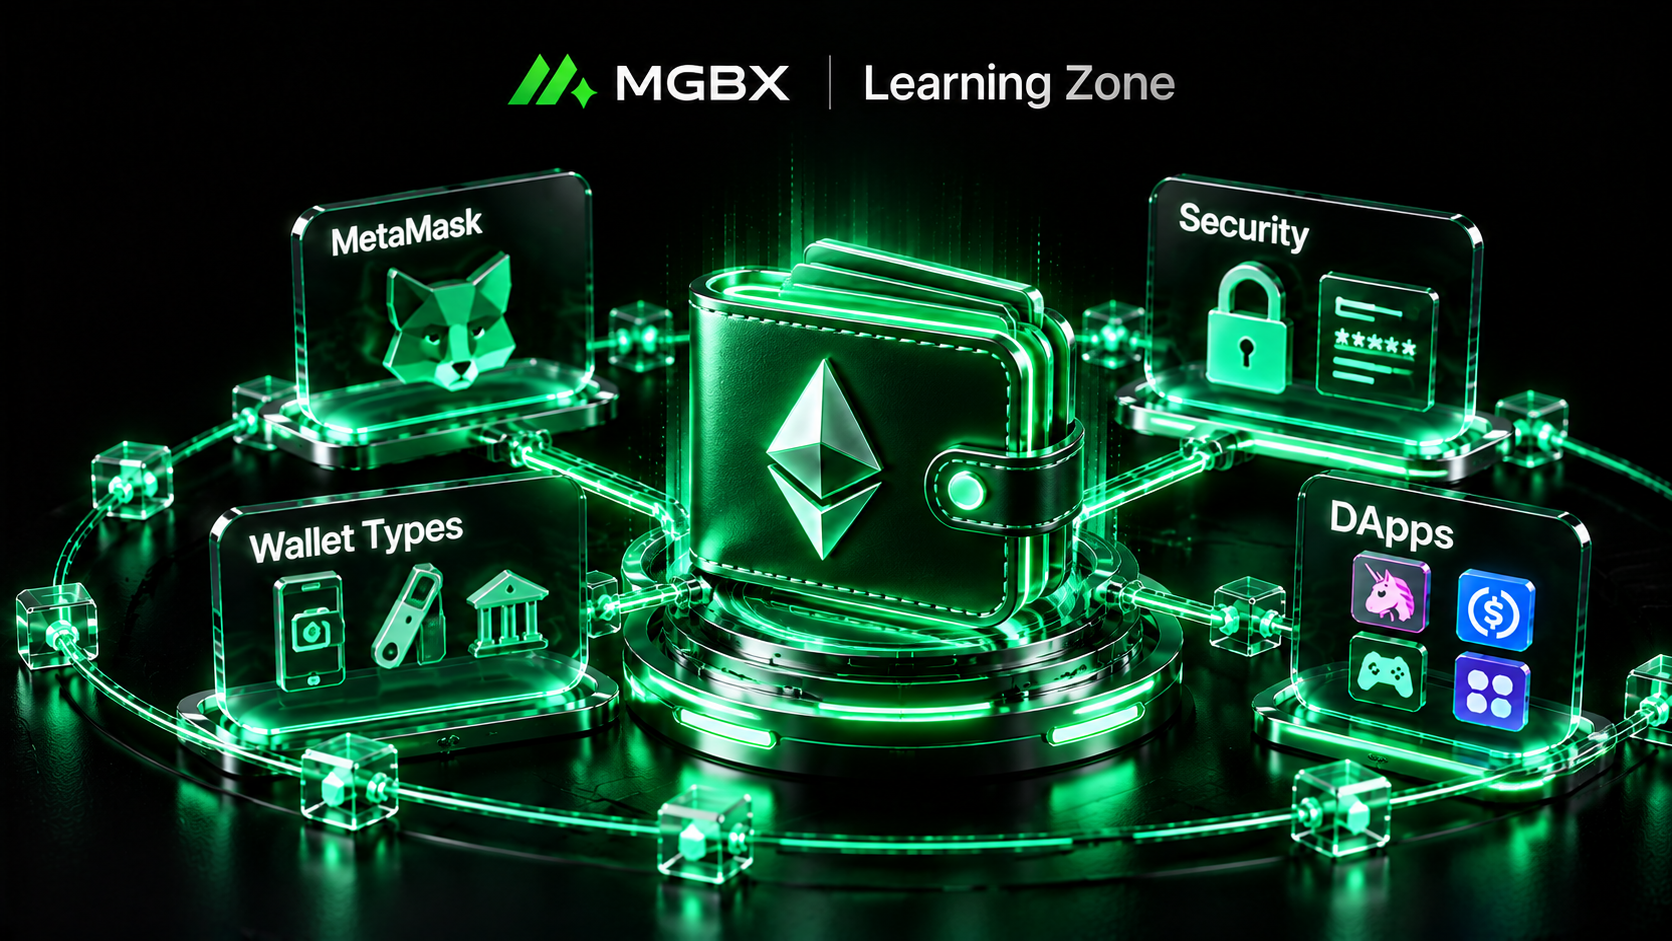
An Ethereum wallet is an essential tool for connecting to the Ethereum network. Its primary function is not to “store ETH,” but to manage account credentials and sign transactions. Users can choose custodial solutions, such as exchange accounts, or self-custody wallets, such as MetaMask. Self-custody reduces reliance on third parties, but also means users are responsible for protecting their recovery phrases, private keys, network selections, and transaction approvals. Understanding these fundamentals is an important first step into Web3.
What Is an ETH Wallet, and How Do You Choose One?
Ethereum wallets are primarily used to manage account access, sign transactions, and connect to DApps. Ethereum’s official documentation explains that a wallet is not the same as an account. Instead, it provides an interface for interacting with accounts and the network. The actual assets remain recorded on the Ethereum blockchain.
In terms of custody, wallets can broadly be divided into custodial and self-custody solutions. Exchange accounts are a typical custodial option, with the platform managing the relevant keys. Self-custody wallets such as MetaMask allow users to manage their own credentials. Software wallets are convenient for everyday DApp interactions, while hardware wallets isolate private keys on a dedicated device and are generally better suited to users who prioritize long-term asset security. Your choice should depend on usage frequency, asset value, and your ability to manage security risks.
MetaMask Tutorial: Setup, Backup, and Basic Operations
Using MetaMask as an example, start by installing the browser extension or mobile app through official channels. After creating a wallet, follow the current setup process to back up and verify your Secret Recovery Phrase (SRP). In traditional SRP-based wallets, this phrase is an essential credential for wallet recovery. MetaMask also supports other login methods in some products, so check its latest official documentation for the recovery process that applies to your wallet.
Once setup is complete, you can view your Ethereum address, receive ETH, and connect to DApps. When transferring ETH or tokens, or moving assets between Layer 2 networks, verify the destination address, network, and asset type. When sending funds to a new address, especially a large amount, consider making a small test transaction first.
Wallet Security: Recovery Phrases, Private Keys, and Malicious Approvals
One of the biggest risks of self-custody is the exposure of recovery credentials or private keys. MetaMask’s official security guidance states that users should never share their SRP or private keys with anyone, including people claiming to be official support representatives. If a third party obtains these credentials, they may be able to control the assets associated with the account.
When connecting to DApps, always verify the website URL, contract address, and transaction details. For token approvals, pay particular attention to the approved spender and the allowance amount. For high-value assets, consider using a hardware wallet and keeping long-term storage separate from your everyday wallet. Remember that signing a blockchain transaction is not the same as simply logging in: it may authorize asset spending or execute a specific smart contract operation.
FAQ
-
Where does an ETH wallet actually store ETH?
ETH remains recorded on the Ethereum blockchain. The wallet primarily manages account keys and transaction signing. -
What should I do if I forget my MetaMask password?
For traditional SRP-based wallets, you can restore access using your correctly backed-up SRP. The password itself is not the same as the recovery credential. -
Can I save my recovery phrase as a screenshot?
This is not recommended. MetaMask advises users to store their SRP securely and avoid exposing it through connected devices, email, cloud storage, or other online services. -
Should I choose a hot wallet or a hardware wallet?
Hot wallets are convenient for frequent Web3 interactions, while hardware wallets are generally more suitable for long-term or high-value assets because they provide stronger private-key isolation and backup security.
Mastering the basics is the first step. Follow MGBX Academy to access more cryptocurrency educational resources and market opportunities.
The process for trading on MGBX:
-
Register a trading account and complete the necessary identity verification;
-
Deposit funds and select a trade type;
-
On the cryptocurrency trading page, enter the amount or quantity of the cryptocurrency you wish to purchase;
-
Confirm the order to complete the trade, and check that your assets have increased accordingly.